Home / Support / Electronic locks SUPPORT / NLX1® WIRELESS
NLX1® Wireless

FAQ
How does the free lock work?
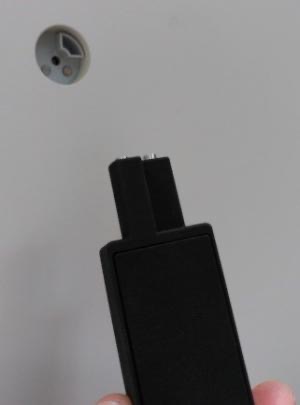
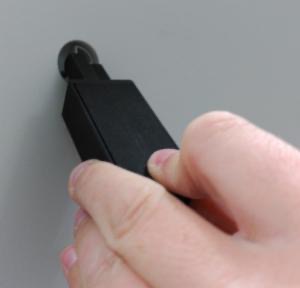
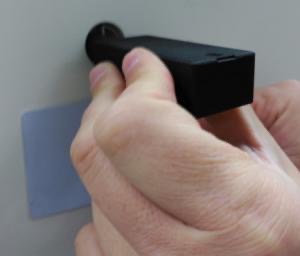
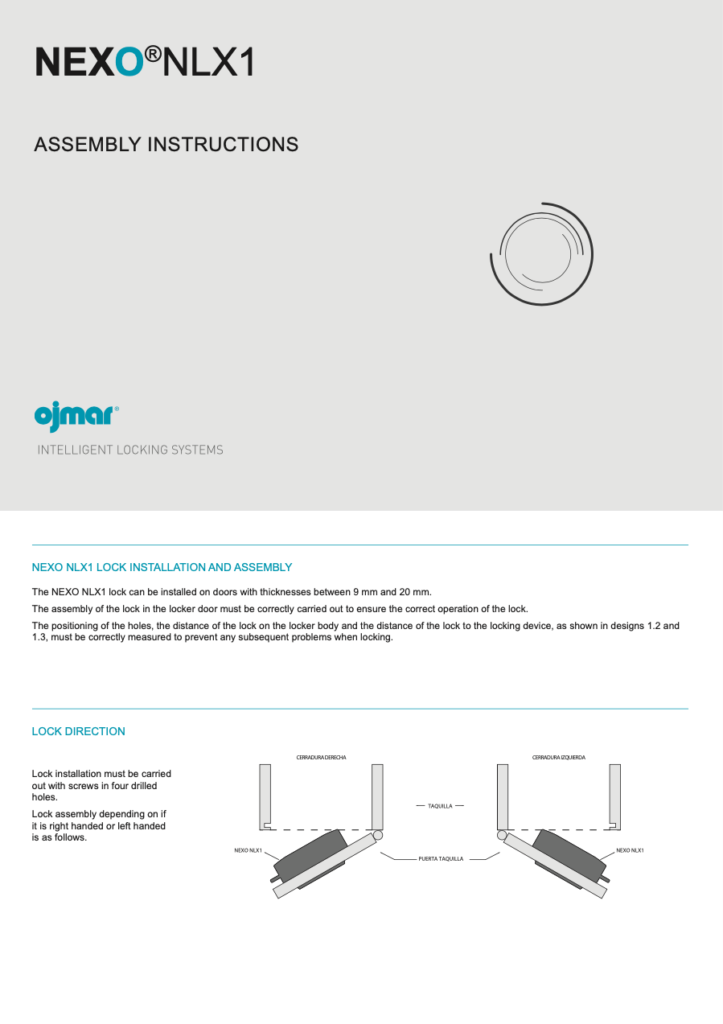
Each chip used to operate the lock (regardless of its format: wristband, card, fob…) has an identifier number called UID. In turn, each lock is programmed with its corresponding number.
When a lock is locked using the chip, 2 things happen: the lock sends it data and the chip data to the Gateway. This memorises them, creating a link between the two elements. This is why a chip programmed to operate with only one lock would no longer be able to lock any other lock, as the chip is occupied. Also, the lock could not be opened with any other chip, as it remembers the UID that locked it (Lock occupied).
When the opening is done, the chip stops remembering the already opened lock (it is released) and would be ready to close any other free locker. The lock also stops remembering the chip’s UID, leaving it free to be used by any other chip. This breaks the link correctly at both ends.
Note, however, that it is not the same to talk about free and occupied (referring to the memory of the lock) or open and closed (refers to the physical state of the lock). There is a case where the lock can be open and occupied (see FAQ Why does no wristband/card close the lock?).
What is the functionality of the master key (Red) and Service (Green)?
Master key (Red): Once this key is used, the lock is unlocked and frees the last used card/wristband’s memory for another user. It can only be used to open locks. Please note that if you use the master key to open a lock, the bracelet will be occupied, and you will have to re-record it.
Service key (Green): Used to check the lock mechanically. It can open and close any lock in the installation, but it does not release the memory of the last wristband used, so only the last user who closed the lock will be able to open it after use. This key cannot be used to leave the lock open as only the user who locked the lock will be able to use this locker.
Why won't the lock open?
The lock is occupied by another key. Pass the service key (green) to check the belongings inside:
- If the lock is wrong, lock it again with the service key.
- If you want to leave it open, pass the master key (red) over the lock or the user’s own key to release both the key and the lock.
After using the master key, the lock still won't open?
Check the flashing of the lock when using the master key:
Green Led | Red Led | Amber Led | Duration | Description |
| 1 flash |
| Long (1s) | Key denied: check that the key is properly recorded/is the correct one. |
|
| 3 flashes | Long (1s) | Low battery detection |
|
| 1 flash | Long (1s) | Definitive low battery |
If you have a programmer, carry out a test to check the battery status and configuration.
**In case of mechanical error, check the door adjustment. If you still cannot unlock the door, please contact Ojmar.
Why doesn't the wristband/card lock any locks?
The wristband/card may be occupied. Check if the key is blank or occupied by reading it in the programmer/Interminal/software. Re-recording wristband using the programmer.
Why does no wristband/card close the lock?
The lock may be occupied. If the service key (green) has been used to open the lock, the lock will still be occupied. Pass the master key (red) to release it.
Is the lock inoperative? - it does not show any flashing
It is advisable to review the doors of the lockers every 6 months to make sure they are in their correct position and thus, correct any misalignments produced by the hinges and that the closing of the locker is correct.
If there has not been a proper maintenance of the installation and the condition of the batteries has not been checked, the locker may be in the closed position, and the lock has run out of batteries. Bringing the key or master or service key close to the lock does not respond.
If this happens, you should proceed as follows:
- Remove the led viewer led from the locker. To do this, use a flat-tip screwdriver and detach, taking care not to scratch the locker’s door. Insert the screwdriver between the door of the locker and the lower corner of the led viewer and push and lever the door against the door until the viewer starts to come free.


- After unsticking the led viewer, put the emergency power supply tool in the door hole until the two pins make contact with the lock’s pins. This way, we power the lock, and with a user key, master key or service key, placing it under the hole in the door, we open the locker.
**Note: The power supply tool can only be inserted into the hole in one position.


How do I use the NEXO NLX1 lock's emergency mechanical opening?
If there is a mechanical failure in the lock and it is in the “closed” position, preventing the locker door from being opened using the user, master or service keys, or if the steps described in Section and it still cannot be opened, proceed as follows:
- Remove the front part of the locker. See point 1 in Section .
- Once the front part has been removed, take the mechanical emergency opening tool and position it in the hole in the door with the arrows pointing upwards, resting it against the locker door as shown in the image. Insert the diameter of the mechanical opening tool into the hole in the door.


- Ensure that the emergency opening tool is aligned with the locker door and is not bent.
ALIGNMENT OK

ALIGNMENT NO OK

Using a drill and a Ø10 mm drill bit, insert the drill bit into the Ø10 mm hole and drill a hole in the lock.


- Insert the key supplied by Ojmar in front of the metal part of the lock, and using the latter, remove it, pushing to the right if it is a right-hand lock or to the left if it is a left-hand lock.
The internal mechanism of the lock will move, releasing the locker door.


How do I change the batteries in the lock?
The steps to follow for disassembling a NEXO NLX1 lock on a bracket or unit should be carried out in the following order:
1. Loosen the two battery holder screws using the spanner supplied by Ojmar (tamper-proof Torx 10).

2. Remove the battery holder.

3. Disassemble the cover. To do this, with the flat side of the key supplied by Ojmar, push the clip of the cover upwards that is on the gap on the battery holder.


This clip is located in the central part of the lock.
4. After unclipping the cover, use the angular area of the key to push the cover and remove it from the lock.


5. Attach the battery holder with the two screws.

6. Loosen the 4 screws of the lock.
How is the lock cleaned?
- Clean it with a soft, damp cloth (do not use any detergent) and dry it thoroughly.
- Protect it from water.
- Do not disassemble it.
Why does the lock not respond when I try to initialise with the NFC programmer?
The programmer is not placed in the correct position.
Put the programmer on the front part, as shown in the picture.
If the above does not work, reset the lock by loosening the battery holder and reattaching it with the two screws (wait for the lock to calibrate, the amber LED will light up 7 times).

Why doesn't the lock receive the configuration data from the PC?
There is no communication with the router.
- Check Ethernet connection.
- Ping the router.
- Ping the PC.
Instructions
QUERIES / INCIDENTS
Once we receive your query / incident, one of our technicians will contact you.
TECHNICAL ASSISTANCE
Request online or on-site assistance from our technicians.
- General overhaul of the installation
- Resetting of locks
- Training
- Migration of software to new equipment
- Software installation
- Upgrading to new software versions
- Possibility online or in person
One of our advisers will contact you after receiving the request via Ojmar.
After Sales Service, to provide you with the information and prepare an estimate.
REPAIRS AND PHYSICAL DAMAGE
Repair services for out-of-warranty products
- * To guarantee the correct functioning of Ojmar locks and extend their useful life, we offer a repair service.
- * This service has a minimum cost of €65.
- * Before filling in the ADM, make sure that the FREQUENTLY ASKED QUESTIONS do not solve your issue.
SERVICE CONDITIONS
ADM (MATERIAL RETURN AUTHORISATION) FORM
Read carefully the following points before filling in the form:
1. Warranty
We grant the specific product warranty to OJMAR S.A. products, according to our General Sales Conditions. This warranty is a warranty with delivery at the point of service, and does not include any provision for on-site services.
The warranty does not include wear and tear parts. Also excluded from the warranty are all faults caused by damages from transportation, mishandling, unqualified repair attempts, mechanical damage, and the use of unsuitable consumables. Warranty rights do not include either faults that have been caused by installation errors and incorrect handling by the Customer. For everything else, expressly refer to the General Terms and Conditions of OJMAR, S.A.
The warranty of the repairs will be valid for 6 months.
For repairs carried out in the 2-year guarantee period, the latter will finish in any case when this period has ended.
2. In case of repair out of warranty, a repair offer will be sent.
This Service will only be valid forElectronic Solutions.
The offer will include a minimum cost of 65€ in concept of “Cost of Handling, Analysis and Repair Management”. Once the validity period of the offer has elapsed, without a response from the client, OJMAR, S.A. reserves the right to choose between scraping the material or return it without repair, “carriage due”.
3. Returned material must be accompanied by the ADM form.
In the case of material returned without the ADM form, OJMAR, S.A. reserves the right to return it to the sender “carriage due”.
4. Returned material must be sent properly packed.
If the packaging is not correct, the warranty rights are endangered. Resulting damage during transportation means the cancellation of all warranty rights.
5. Transportation costs
OJMAR, S.A. assumes the cost of transport (both collection and return in case of product under warranty). In the event of repairs out of warranty, customer will send the material to be repaired to OJMAR, S.A facilities (adress below) and will assume all costs for both delivery and return of the repaired material (in DDP Elgoibar conditions).
OJMAR, S.A
P.I. Lerún S/N
20870 ELGOIBAR – SPAIN
Attn. Quality Department
6. Description of the error.
The ADM form must include a detailed description of the error (“faulty” or “for repair” is insufficient). In case of an insufficient description, OJMAR, S.A. reserves the right to verify (billing the cost of the service) or to return the material unchecked “carriage due”.
7. Improper claims
In case of improper claims (no errors are detected, manipulations, incorrect assembly or initialization…) the cost of the checking and processing service will be charged. The material will be sent “carriage due”.
8. Terms of Delivery and Service
The delivery and payment conditions of OJMAR, S.A. apply without any change.